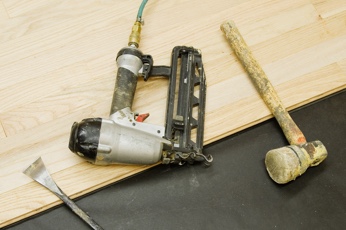
Nail-down installation
Nail installation is a method commonly used for solid hardwood floors. It follows the same method as staple-down installation, but you use a wood flooring cleat rather than a stapler.
If you’re installing engineered hardwood floors, please refer to the staple-down instructions.
Materials Needed
Nailer or Stapler:
- For installation over 3/4″ wood type subfloors installed over joist or truss systems a minimum 2″ long cleat, or staple should be used.
- 3/4″ thick plywood over concrete, 1 1/2″ cleats or stapler should be used.
Things to keep in mind:
- Always review the instructions included in your box thoroughly before you start installation.
- Use only nailers or staplers designed for installation of 3/4″ hardwood floors.
-
High moisture areas or rooms larger than 20 ft. by 20 ft. may need 1/32 spacers for extra expansion as well as 3/4″ at any verticle obstruction.
- i.e., walls. Mullican recommends prefinished foot for manual and air nailers/staplers.
- If you plan on storing the material prior to installation, store at least 4″ or more off the ground and in a dry area.
- Before you begin your project, place the cartons in the home and allow flooring to acclimate. For Oak, acclimation time is 3 to 5 days in live in conditions with normal relative humidity and temperature. Other wood species may require a longer acclimation time.
- Lay flooring only after sheetrock and tile work are thoroughly dried and all woodwork and trim have been completed.
- Always pull planks from different boxes as you install to provide a more consistent look across the floor.


